

How to crash a '69 camaro

Hello Everyone,
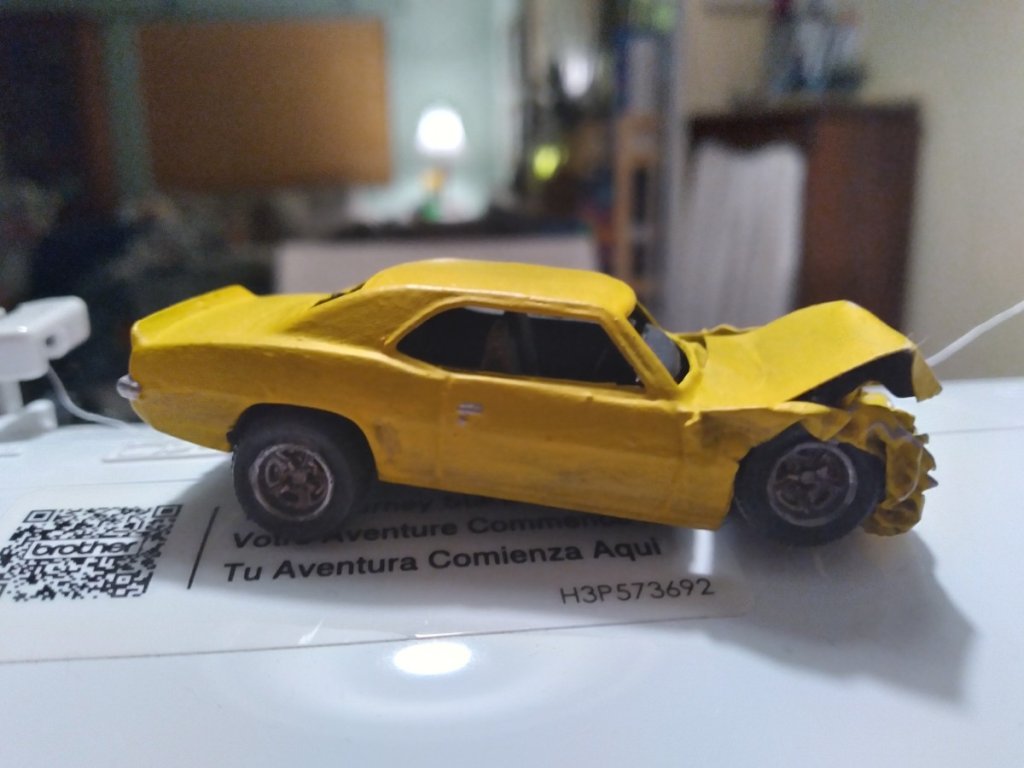
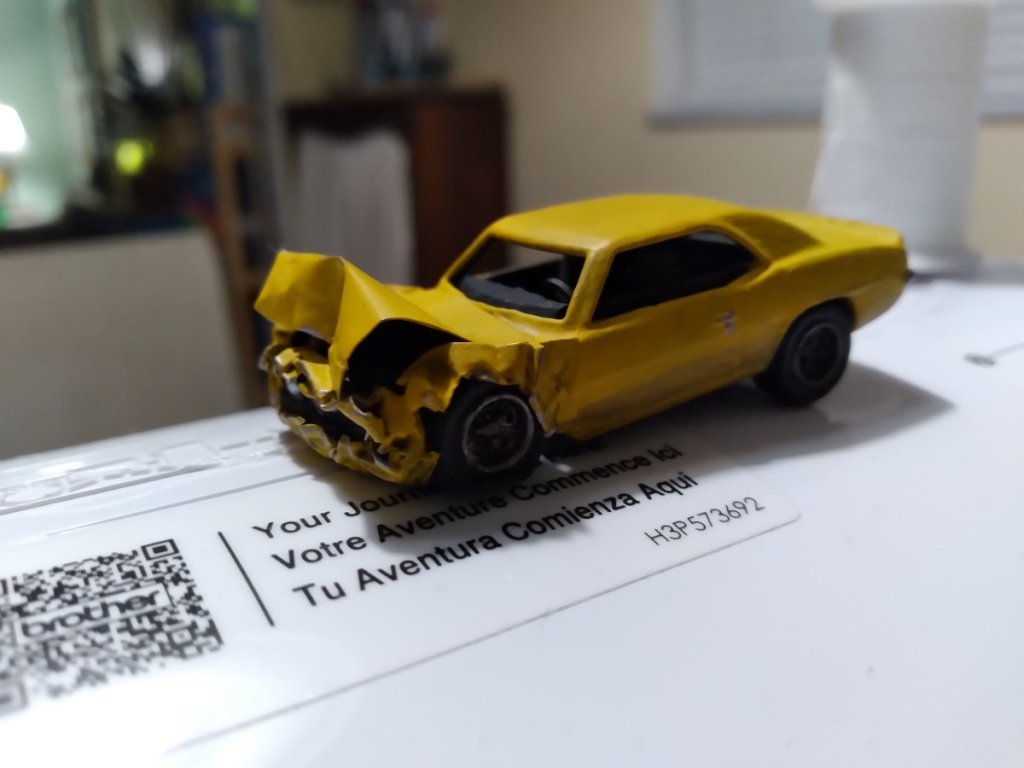
Here is a bit more details on how I created my crashed 69 Camero.
What I did.
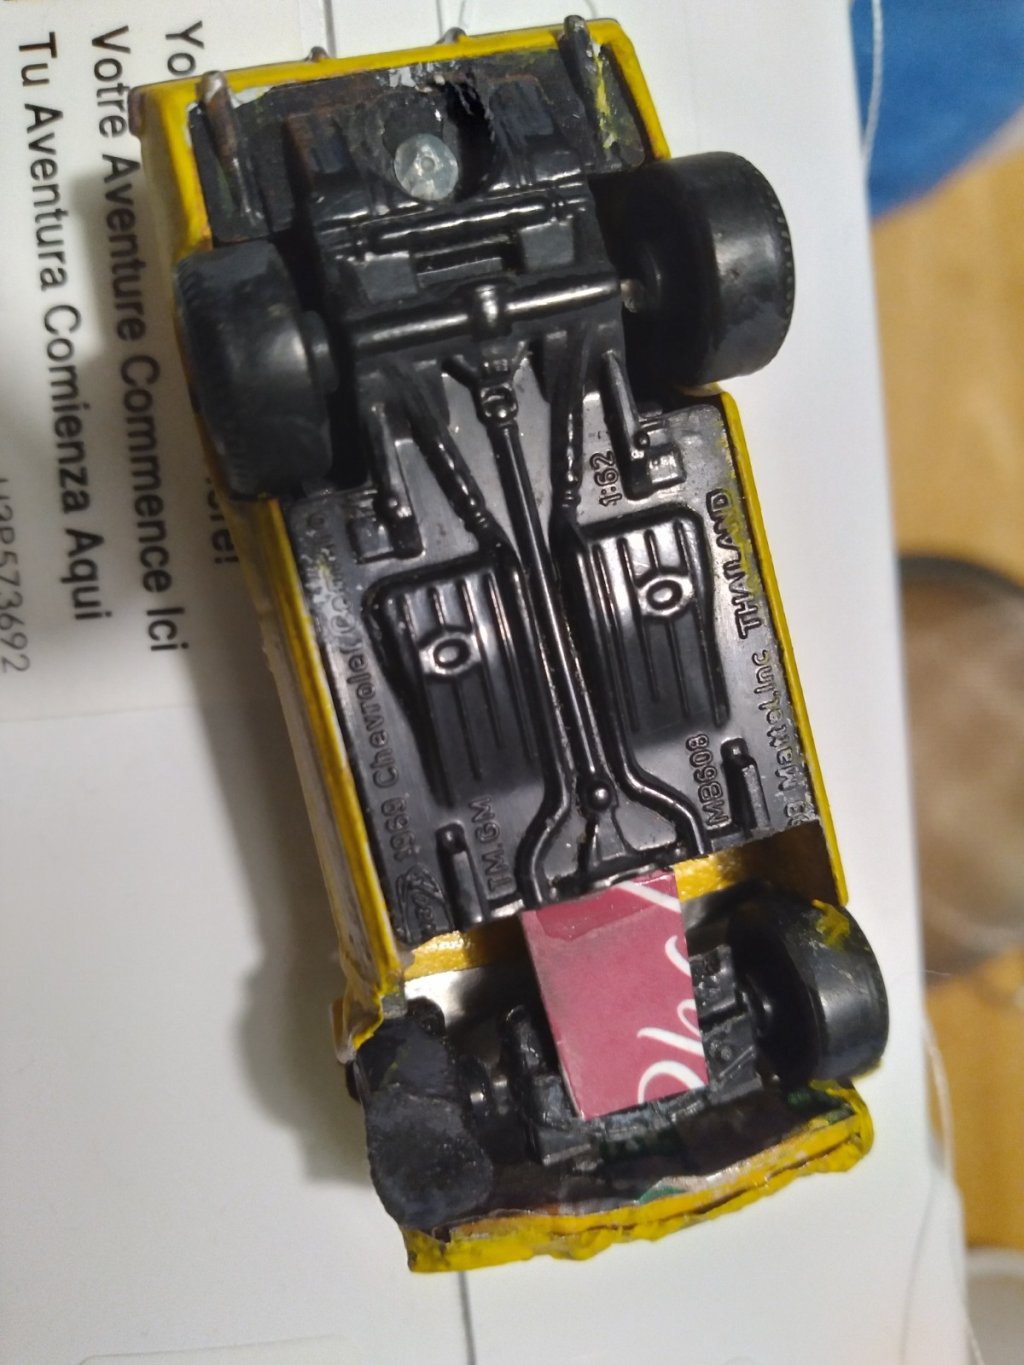
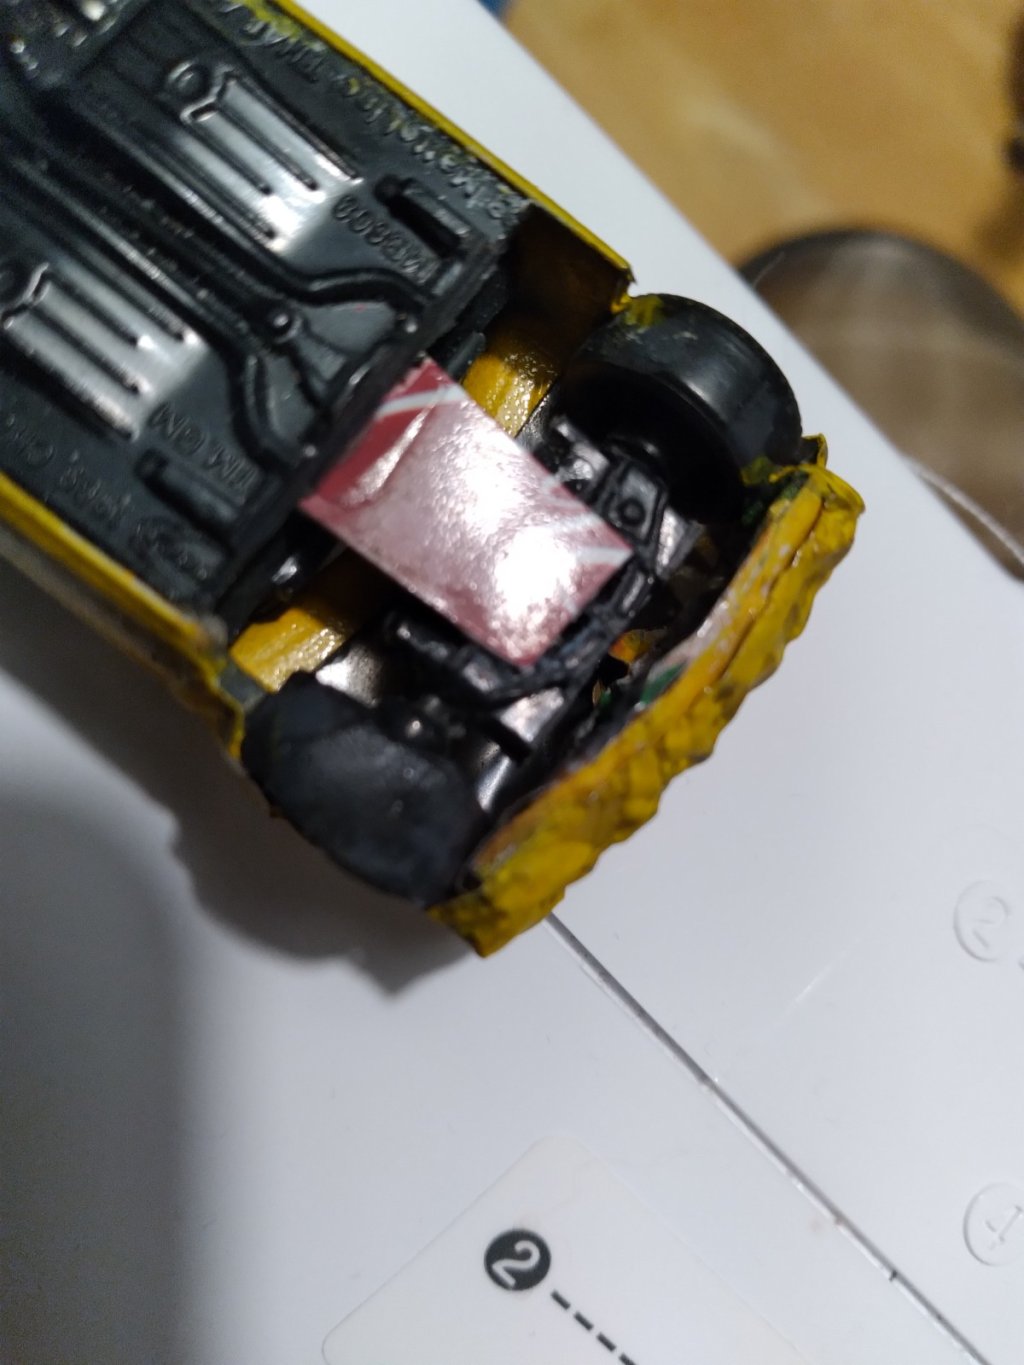
First, I used a jeweler's saw to cut off the area I wanted to have crashed, in this case the entire front of the car starting just forward of the windowshield. I also cut off the very front of the car the grill and headlights.
Next, I cut the bottom section of chassis that included the front wheels and using a bit of placticard I glued them into the rough position of where I wanted the wheels to be. I heated up the front driver's side wheel with a lighter and pressed it down onto a peice of waxed paper to make it appear flat.
For the damaged sections I cut out sections of an aluminum can in the shape of the front quarter panels/fenders and the hood of the car. Using pliers to hold them in place on one end (they are EXCEEDINGLY SHARP) I used a pair of needlenose pliers to bend and manipulate the aluminum sections into the desires shape and glued everything in place with some super glue. Then I primed and painted. Make sure to sand aluminum before gluing to allow it to have better hold.
Pros to this method:
Aluminum is durable and holds it shape.
Cons to this method:
Aluminum is very difficult to shape and tricky to work with.
What I'm going to do next time:
Replace aluminum with the foil tops to yogurt and kids applesauce cups. This is easier to work with, but will sacrifce some of the rigidity. Regular aluminum foil is WAY TO DELICATE and doesn't hold its shape.
Pointers
Start with a plan. Ask yourself, what happened to the car?
Google to the rescue: find some pictures of a car preferably your car crashed in the same way.
Trace the section of the car to be damaged onto paper.
Cut out the section of the car to be damaged.
Trace and cut out the section of the car from the foil damage it and glue into place.
Feel free to ask questions and good luck!
Discussion

have you ever seen this stuff
it's very flexable, very stuff when bent, and has adhesive on it.
I use it for alot of hobby stuff. I made a 1/64 camper out of it, and it's pretty tough
dents somewhat from impact.
Nice work I was wondering how ya did it.
dr
- Thanks dr I will look into that tape. How sticky is the adhesive side? Is it forgiving or is there no going back? — Sunshine_City_Garage
- Good idea. If you folded it sticky side to sticky side it would be much easier to craft with. — alva1370
- I have done sticky to sticky, the trick, get them wet and they will slide around, then leave in the sun to dry out, similar to installing vinyl graphics on a car — dr_dodge
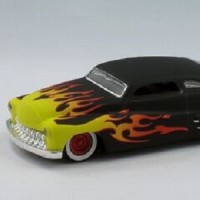
Okay, now THIS is some damn fine work! I love the way you created this. Great job, and I hope to see this trackside sometime on your layout.
OK, so now I'm looking to try the other method, using the foil yogurt lids. But I need a test subject. What kind of car and what happened to it? I was thinking either tboned or rolled. Thoughts? Also feel free to ask anything. Even though I've only been customizing cars for a few months. I've been building model kits and scrat built terrain for miniature wargames for 15 years.

That is craftsmanship!