
Track Build for Dummies
The "Dummies" I'm primarily referring to is me. Seriously, for the last 10 months I've been trying to prefect a track that is simple to setup, yet durable for transporting and tearing down, and most important FAST! I honestly believe through trial and error I finally have arrived at a setup that works! So I wanted to share my information with those who might just be starting their track build and see if this might help. I realize that many of us here have different setups for our tracks. If any of the information I'm about to give helps then it will be worth it all. Here goes...
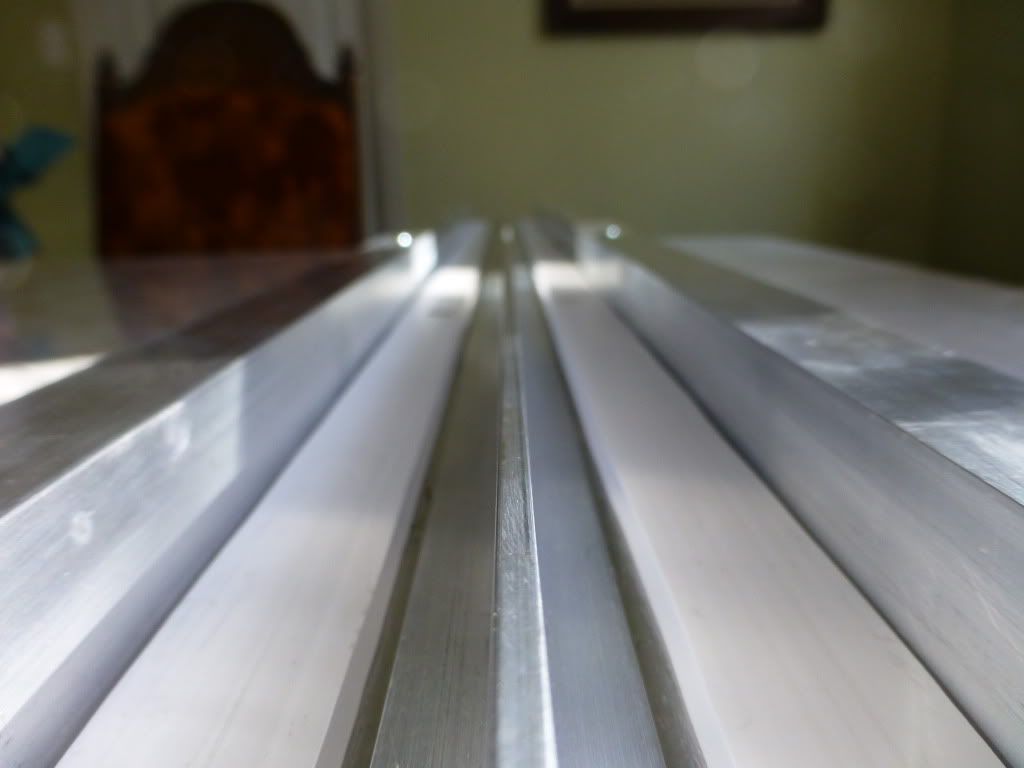
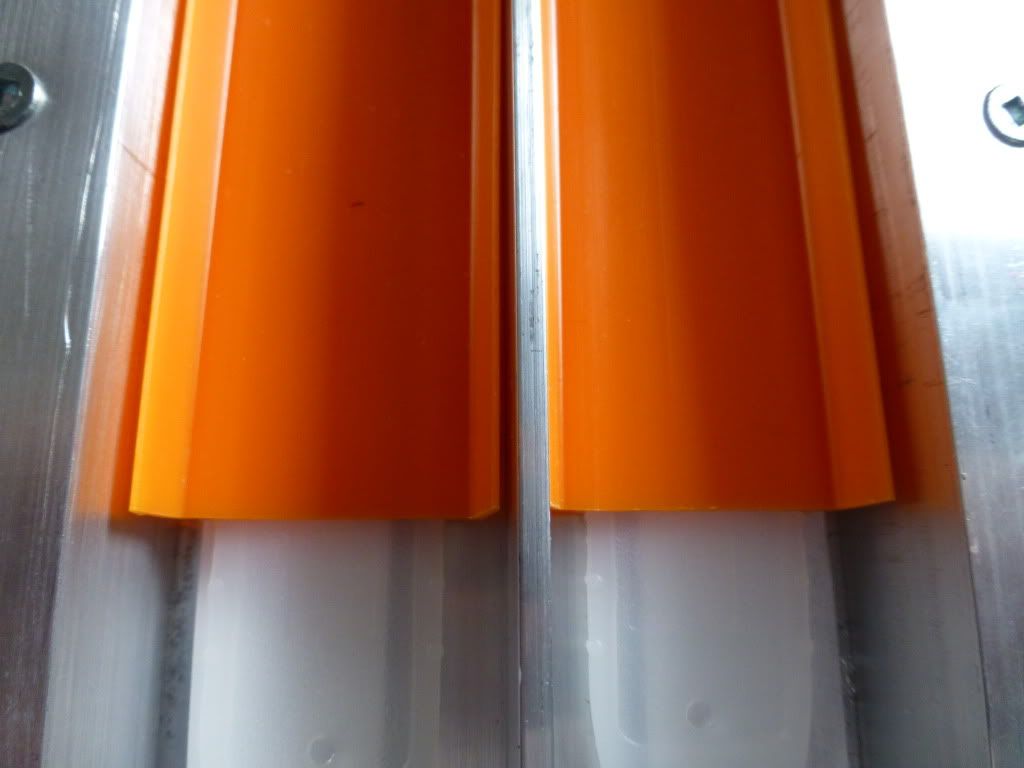
1. Depending on the type of track you are using (seamless or sectional) it seems that one of the things that is important is keeping your track straight and true. I started out using roofing nails, but they created little bumps in the track...not a good thing. And then I went to using 11/16 wood strips to separate the lanes and hold them in place. The wood wasn't always straight, and over time started to splinter from setting up and tearing down. So I finally went to aluminum, and it works great...doesn't warp, and splinter and even holds up when little kids want to step all over your track.
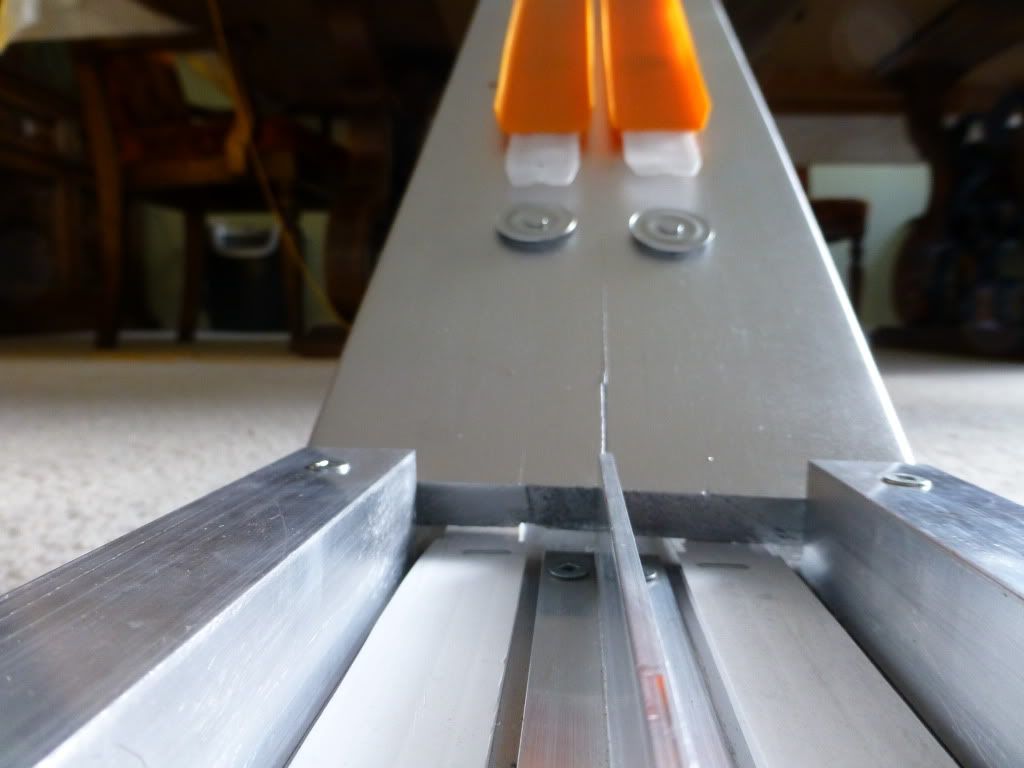
2. Since I'm using multiple boards to makeup my track, and they are not connected with hinges this little feature really helps with keeping it straight and true. You will really be surprised at what you think is straight and what the plumb line shows...this really helps a lot.
Notice the little screw at the beginning of the track...
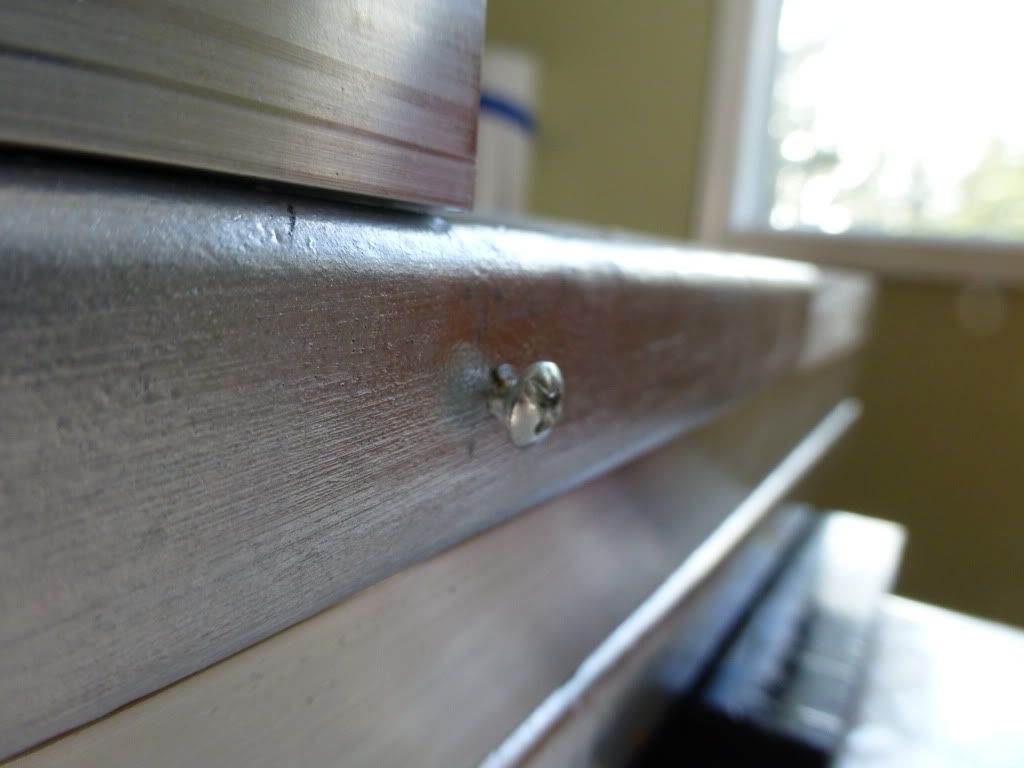
The line pulled...
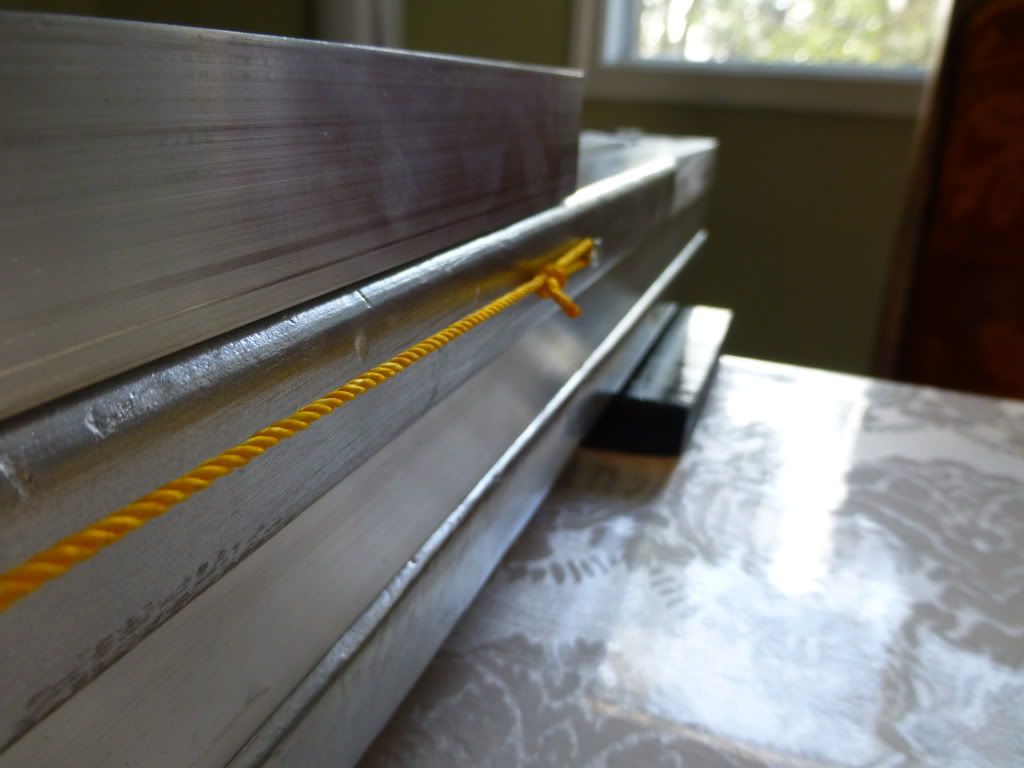
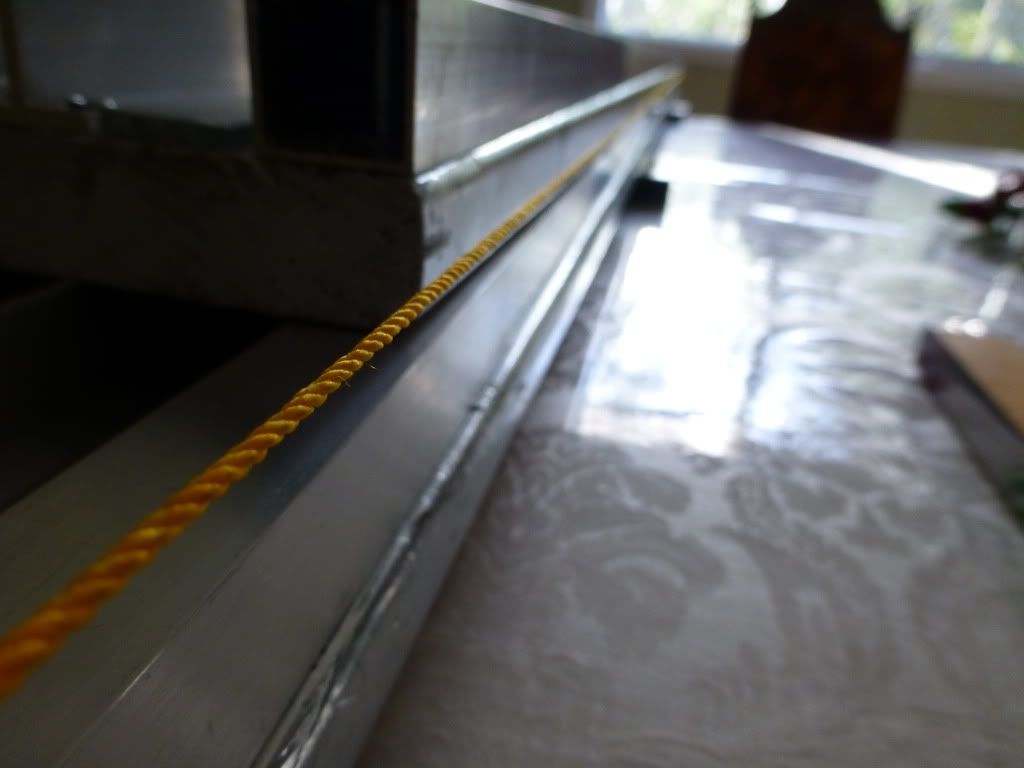
Nice and straight
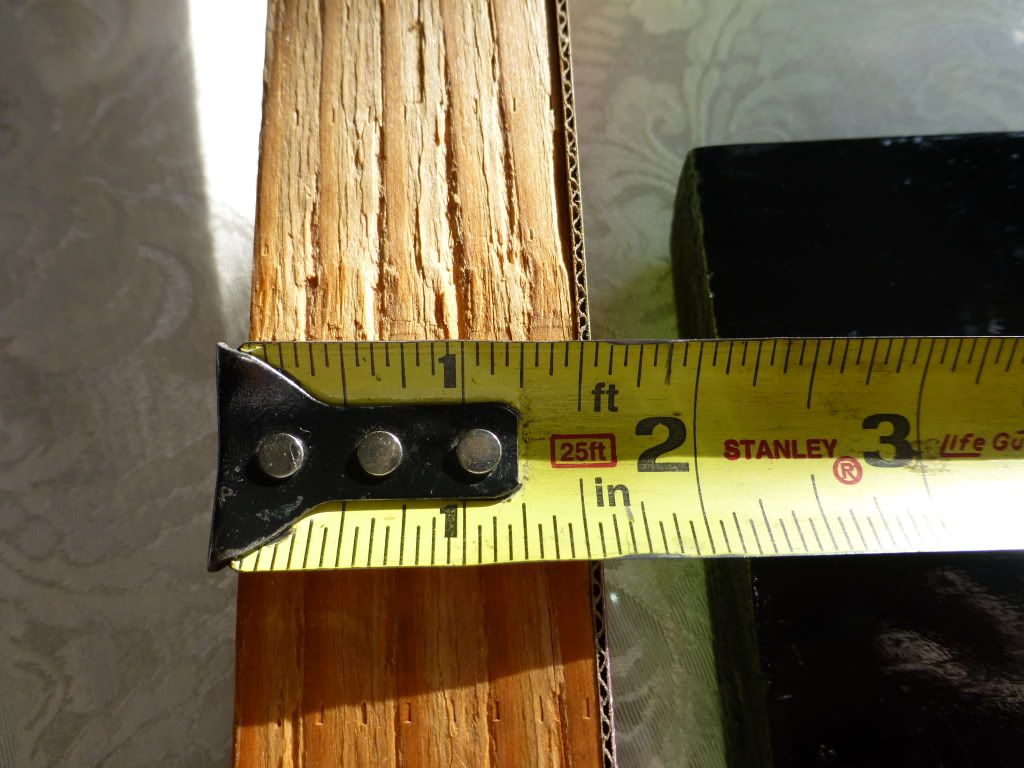
3. Another lesson I learned about putting a track together was making sure the lane spacing was correct. I had the track too tight between the pieces of wood and it would cause the cars to bind up, and flip off the track. ( And I was thinking it was just a Bad Car Design that was causing all the wrecks). I made this tool so when I was screwing my metal down to the track, not only would it take care of lane spacing, but when it came to the joints in the track they would aline up as well. ( 1 1/2 - 1 5/8 size) Hope this makes sense.
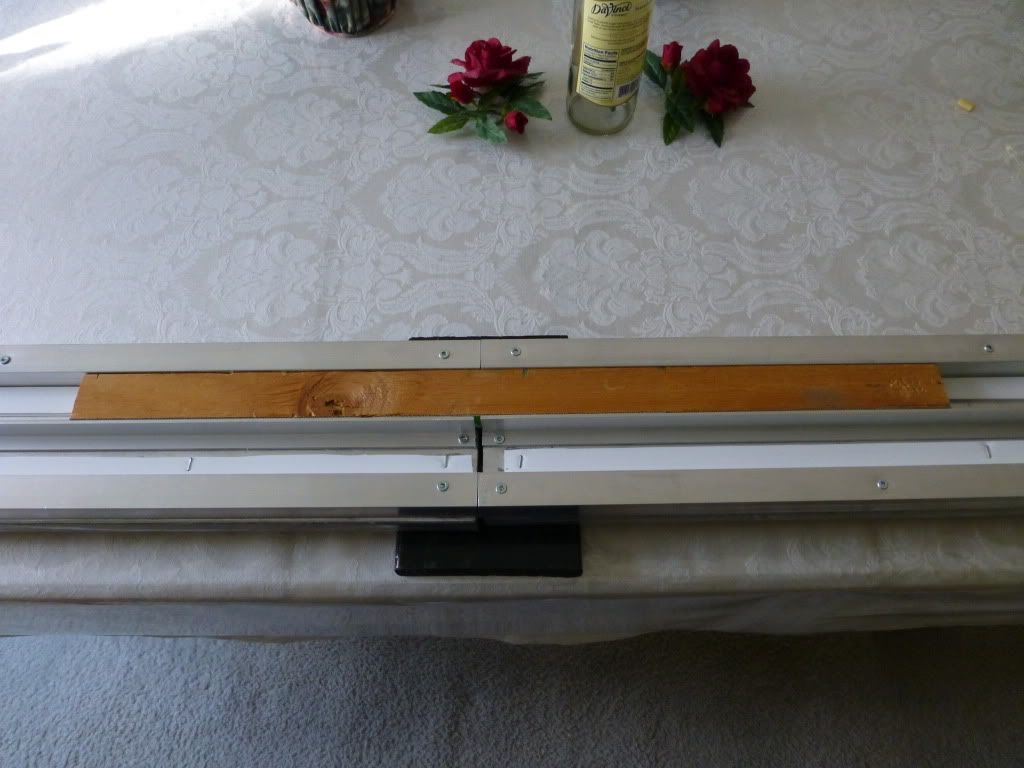
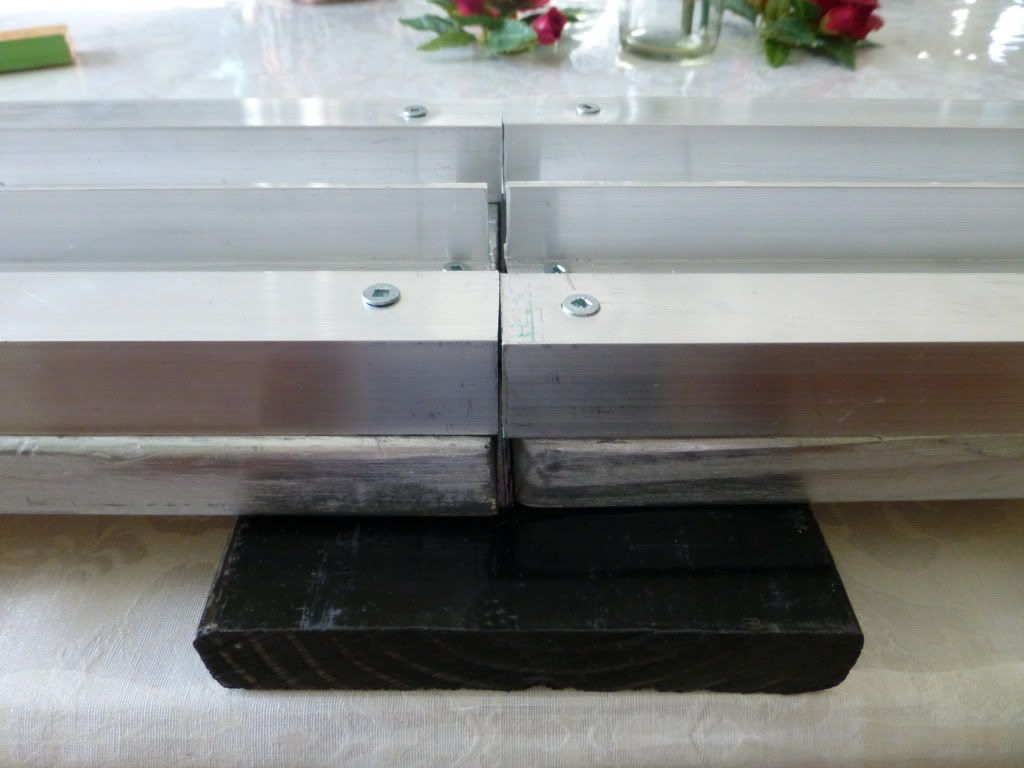
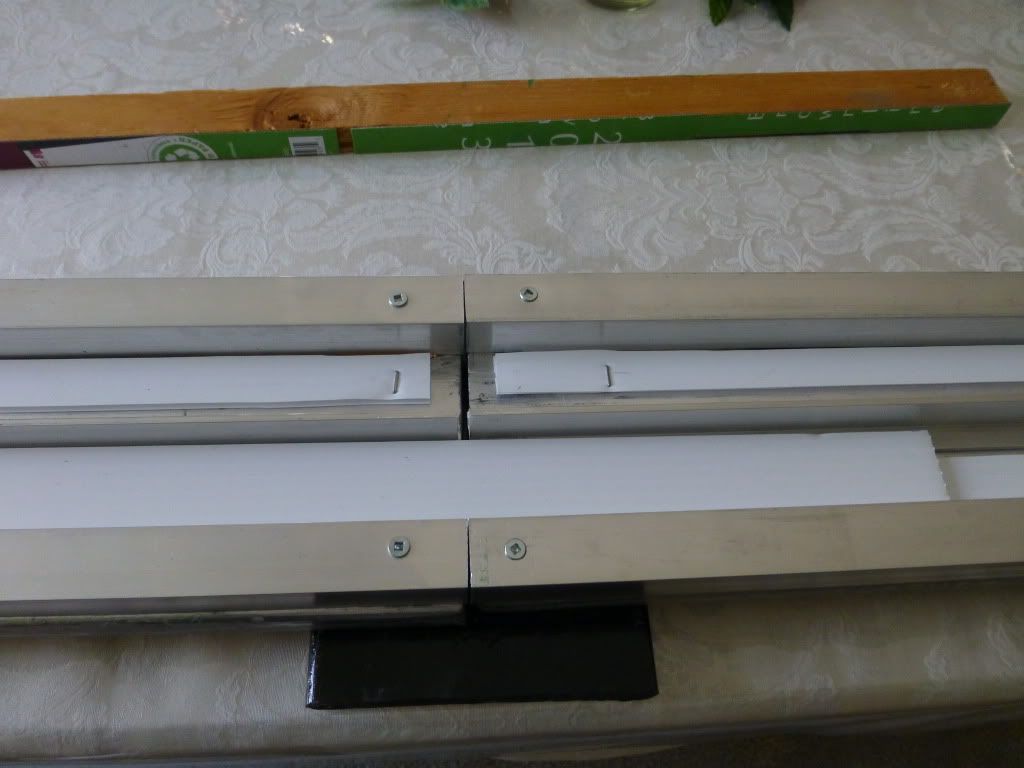
4. Track joints can be a problem especially when setting up at differently locations. The surface isn't always level, thus causing big bumps at the track joints. I use blocks of wood under each track joint to elevate it up off the floor helping to make it as level as possible.
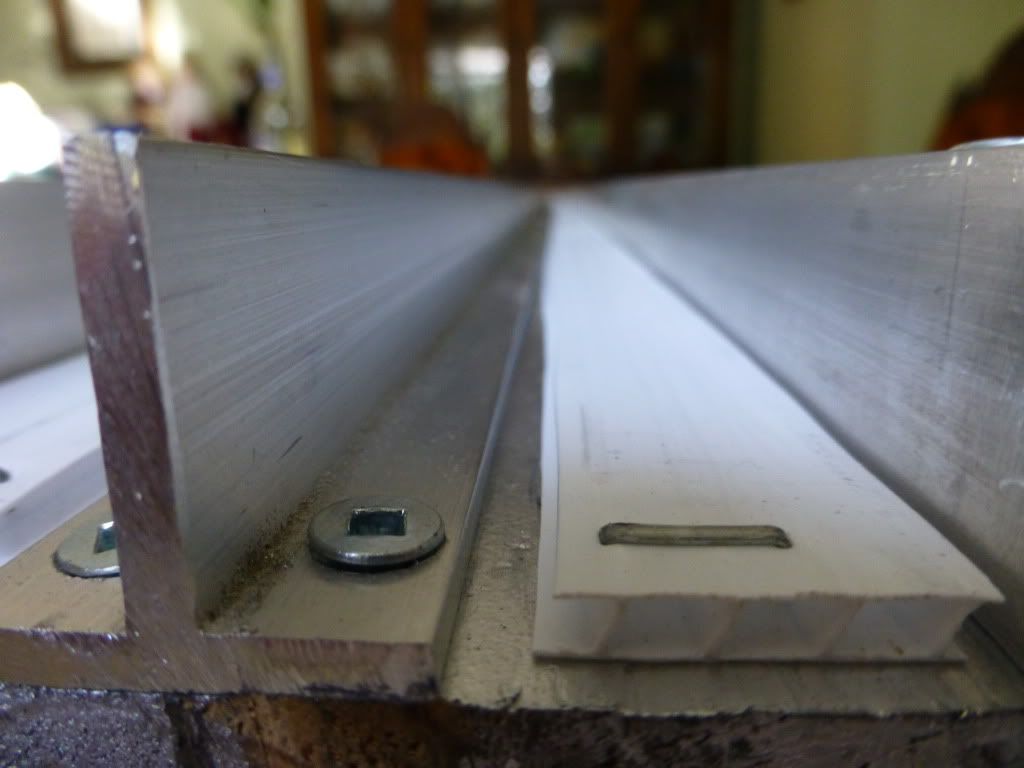
5. Next, because I'm screwing my metal pieces down, the screw heads are not always flush, once again causing little bumps. And for any irregularities that the blocks of wood under the joints can't solve these strips of corrugated plastic strips makes for one smoooooooth surface.
Over lap at the joint.
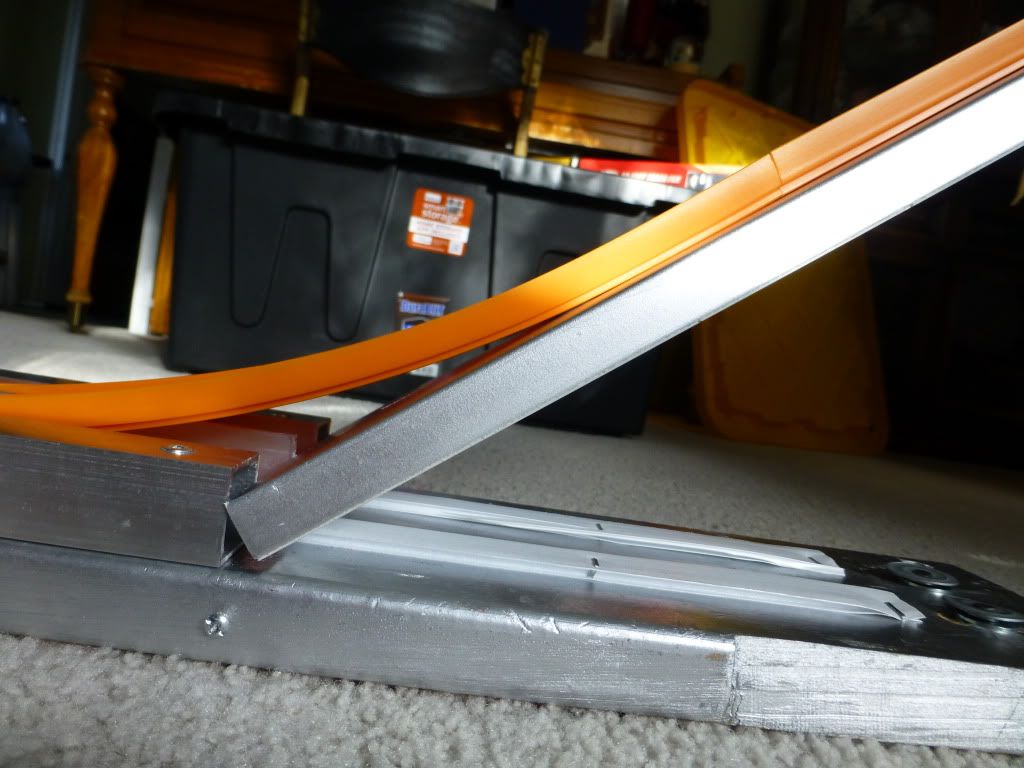
6. Making the Transition between the hill and the straight can be a problem and cause cars to become unsettled and wreck. My biggest problem here was my track being too tight. This is my current setup and thus far no wrecks with my cars no matter how steep the angle of descent.
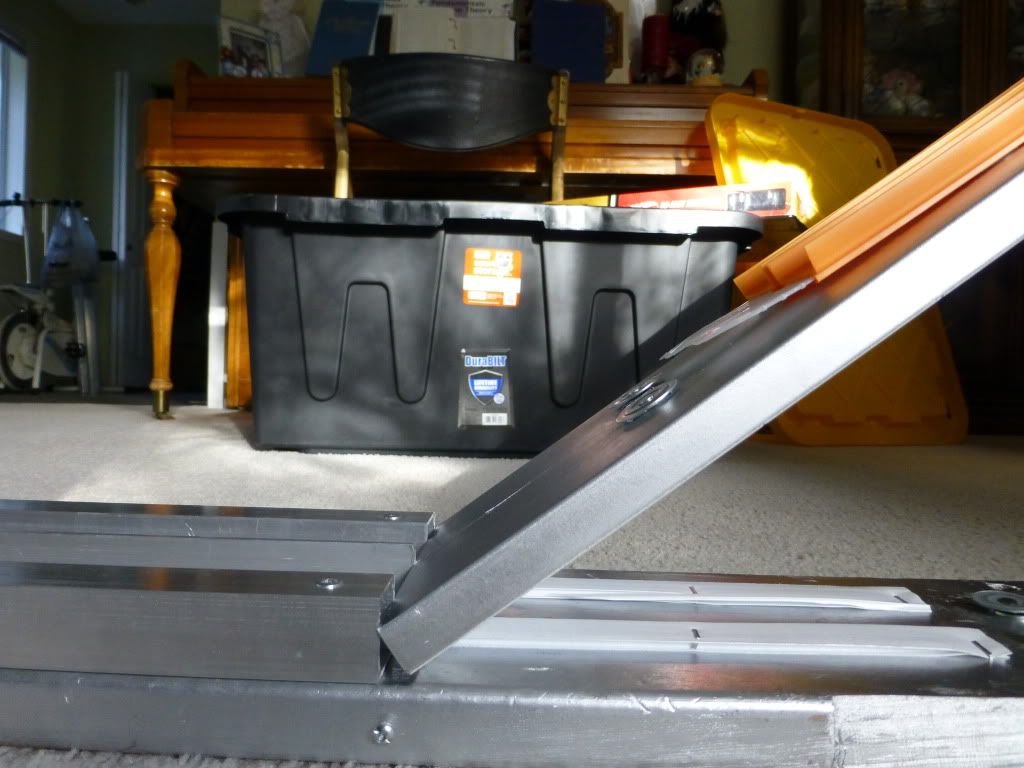
Notice the roofing nails...they work well on the downhill holding the seamless track to the sectional pieces. Without them, the seamless would bow and twist, since it is stored rolled up.
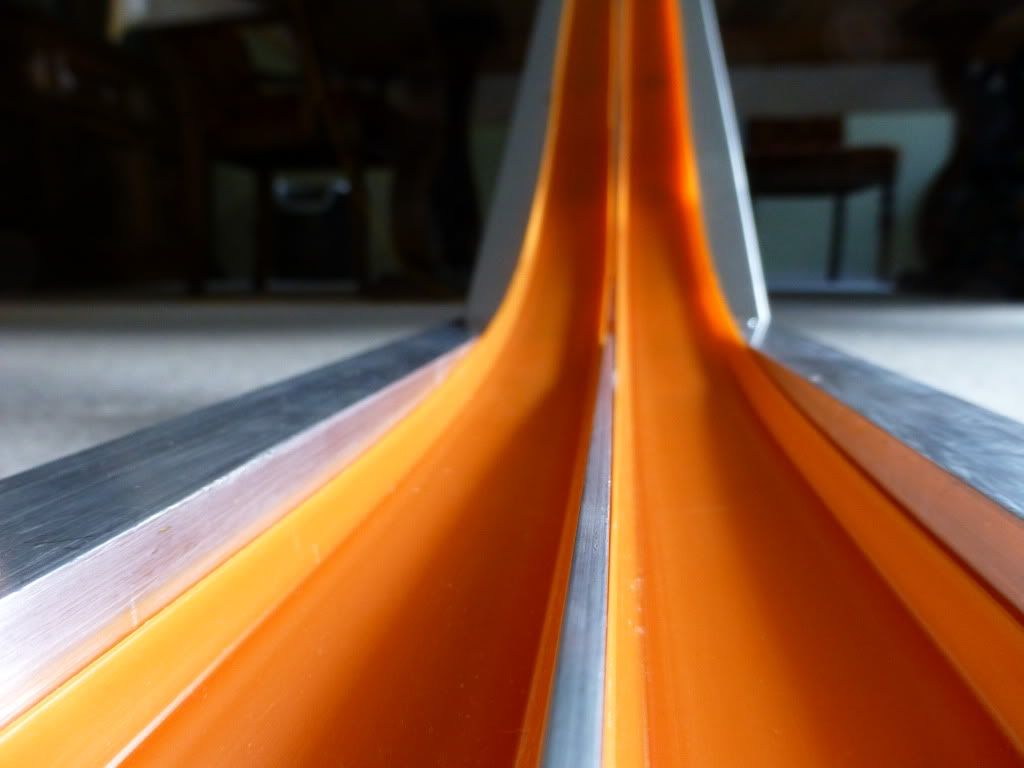
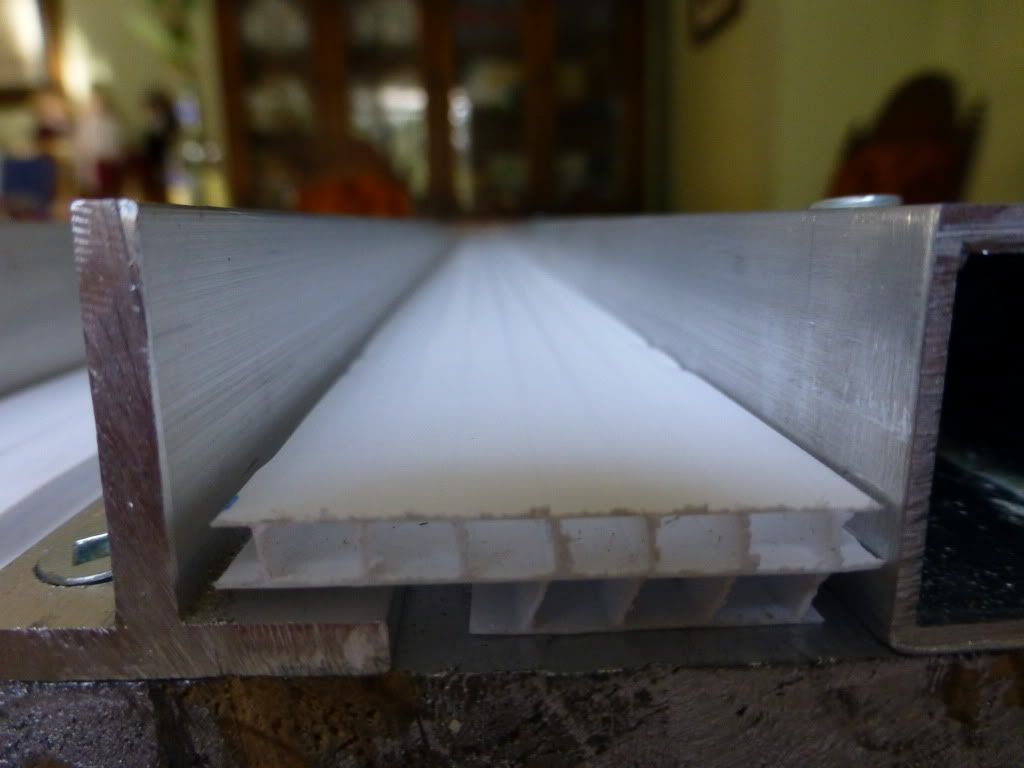
One last shot of the track in the aluminum dividers. Notice the slight spacing in how the track isn't being pinched...just enough support to keep straight, and no twisting.
Note: After getting my track setup fixed, my worst wrecking cars would make the 32 ft run in 2.55 seconds, with no glitches...just smooth, blistering fast racing. Hope this helps
Preacher
Discussion
What aluminum "thing" are you using? Is it like a aluminum stud or something?Or wait...you still have wood but the walls are the aluminum T piece? Since you have it all painted silver (which is nice) it's hard to tell what's wood and what's not. Just wondering how/where you got the aluminum pieces and what you did to make them work.
I would love to build a track like this that is less a victim of weather and rough wear.
We have a metal superstore where we live that sells all types of metal. I bought 1 inch aluminum "T" along with the 1 inch square for the outside edges. I personally think the square tubing on the outside add a little more protection against someone falling and getting hurt on any of the metal. I then drilled and countersunk the screw heads so that they would be as flush as possible. And then, screwed everything in place using the wooden guide to keep all the spacing correct. It would have been great, if I would have had three 7 1/2 foot pieces of wood, and then it would have made for less joints in the track. But the problem comes down to transporting the track...with the smaller pieces, it makes it easier to move, and when its all setup...its really straight!
Preacher
What aluminum "thing" are you using? Is it like a aluminum stud or something?
Or wait...you still have wood but the walls are the aluminum T piece? Since you have it all painted silver (which is nice) it's hard to tell what's wood and what's not. Just wondering how/where you got the aluminum pieces and what you did to make them work.
I would love to build a track like this that is less a victim of weather and rough wear.